Putting Confidence: My 8 Step Routine That You Can Steal
Putting Confidence: It can be the difference between strutting down the 18th fairway a champion and limping in with a score you wouldn’t dare mention at the clubhouse. While a smooth swing and a touch of finesse are undeniable assets, the real key to conquering the green lies in a consistent putting routine.
This article introduces you to the clock visualization method, a putting routine designed to improve your focus, feel, and ultimately, hole more putts. Let’s unpack this method step-by-step, transforming you from a green-topper to a confident lag putter.
Step 1: The Hole as Your Clock Face
Imagine the hole as the 12 o’clock position on a giant clock face. This visualization serves two purposes. Firstly, it provides a reference point for reading the green. Carefully examine the area surrounding the hole, paying close attention to any slopes or subtle changes in the putting surface. These subtle variations will influence how much, and in which direction, the ball will “break” (curve) as it rolls towards the cup.
Step 2: Pacing Off the Distance
Next, get your feet moving and pace off the distance from your ball to the hole. A typical walking stride is roughly 3 feet, so this can be a handy starting point for judging distance. Remember, this is just an approximation. For a more precise measurement, consider using a trusty rangefinder.
Step 3: Adjusting for Slope and Speed
Now that you have a rough idea of the distance, it’s time to factor in the slope of the green and the overall green speed. Uphill putts will require a bit more mustard behind them, while downhill slopes demand a softer touch. Green speed is a whole other beast – a lightning-fast green will require you to dial back the power on your stroke compared to a slower, more sluggish putting surface.
Step 4: Picking Your Line with the Clock
Stand directly behind your ball, facing the hole. Here’s where the clock visualization comes back into play. Based on the green read you performed in Step 1, visualize a starting line for your putt. Imagine an extension of that imaginary line continuing through the center of the hole, just like a hand on a clock. For example, if the putt breaks slightly to the right, visualize a line starting at your ball and traveling towards the 2 o’clock position on the clock face (the hole). This is your initial putting line.
Step 5: Feeling the Putt
Still standing behind the ball, close your eyes and feel the putt. Imagine the exact speed you need to putt the ball to reach the hole. Now, without looking down at your putter, practice a few swings with that imaginary speed in mind. Visualize the perfect putt – the ball rolling smoothly along your chosen line, finding the bottom of the cup with a satisfying “thwack.”
Ready to Make the Putt? Executing Your Routine
Step 6: Address the Ball and Align
Now it’s time to address the ball. Walk up to your ball, take your stance, and grip the putter comfortably. Here, take one final look at the hole to confirm your alignment. Ensure your shoulders, hips, and knees are all aligned with your chosen putting line.
Step 7: Focus on a Dimple
Pick a single dimple on the ball and maintain focus on it throughout your entire stroke, all the way through impact. This helps maintain focus and keeps your clubface square at address and impact. With a bit of practice, you might even see a “ghost image” of the ball rolling after you putt – a golfer’s version of a premonition of success!
Step 8: Make the Putt and Enjoy!
Finally, with a smooth, controlled stroke, make the putt! Watch the ball roll true, its path mirroring the line you visualized earlier. Listen for the satisfying “thwack” of the ball hitting the bottom of the cup – the sweetest sound in golf.
Remember, Practice Makes Perfect
This is just a framework, a starting point for your putting routine. The key is to find what works best for you. Experiment, tweak this routine to fit your putting style and preferences. The more you practice this routine, the more ingrained it will become, building confidence and consistency on the putting green.


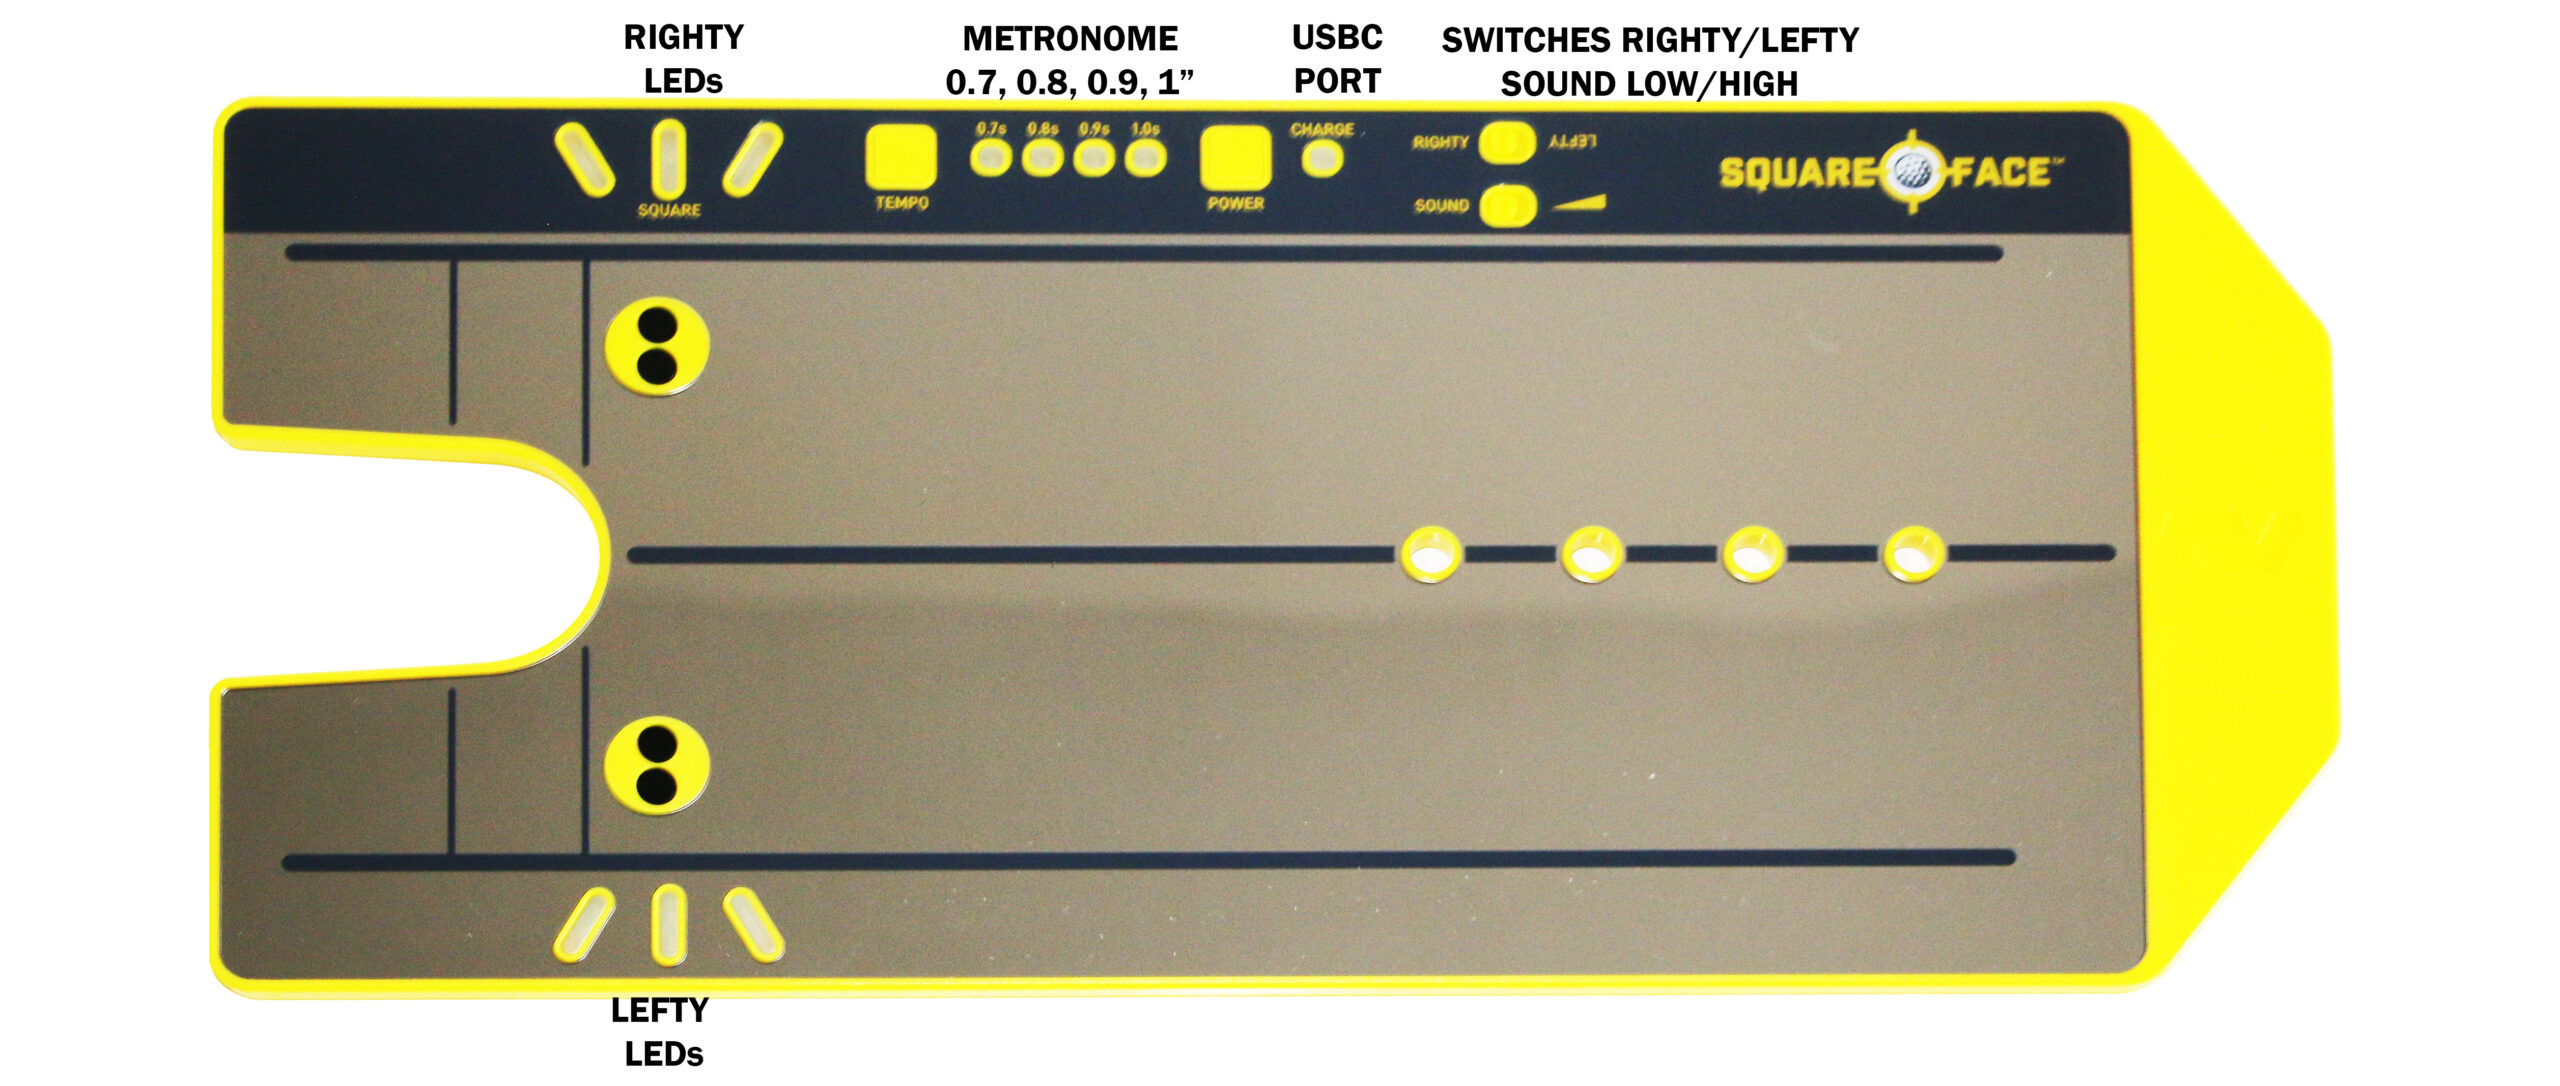
The Square Face And Putt Like A Pro Book
Click here for 10% off the Square Face (use coupon code SUPERIORGOLF) and my eBook free with the purchase of the Square Face
