Divot Repair Steps: 7 Keys To Proper Repair
Divot Repair Steps: They say good golfers leave the course better than they found it. While sinking clutch putts and driving the ball like a pro are all well and good, there’s another mark of a true golfing gentleman (or gentlewoman) – proper divot repair.
Those little craters left by your iron shots might seem insignificant, but unaddressed divots can wreak havoc on the delicate putting surface. Fear not, fellow hackers and scratch golfers alike! This guide will equip you with the knowledge and finesse to become a divot-repairing dynamo.
The Tools of the Trade:
Before we delve into technique, let’s get acquainted with your trusty divot-repairing arsenal:
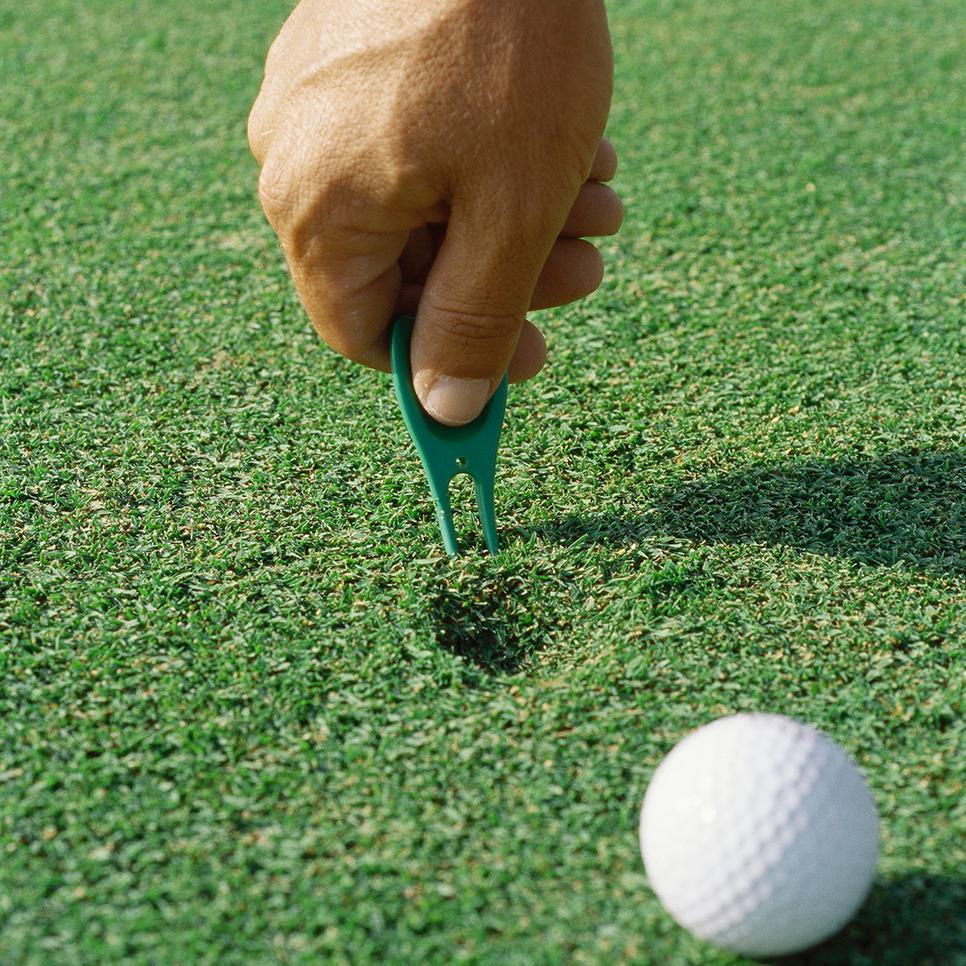
- The Divot Repair Tool: This handy gadget comes in various shapes and sizes, but the core function remains the same. Look for a tool with a double-pronged end for effective turf manipulation.
- Seed Mix (Optional): Some courses offer small containers of seed mix specifically formulated for repairing divots. If available, consider using it to expedite the healing process.
- Your Putter: This isn’t just for holing out those birdie putts! The flat surface of your putter is perfect for gently tamping down the repaired turf.
Step Up to the Challenge: The Art of Divot Repair
Now that you’ve assembled your divot-repairing cavalry, let’s get down to brass tacks:
- Locate the Culprit: After a crisp iron shot (or a not-so-crisp one, we’ve all been there!), identify the divot you’ve created. It’ll likely be a horseshoe-shaped indentation with a flap of displaced turf.
- Respect the Green: Before you start prying, remember – the green is sacred ground. Avoid walking directly on the putting surface. Instead, approach the divot from the side and position yourself such that you won’t cause further damage.
- Tool Time: Here comes the fun part! Take your divot repair tool and carefully insert the prongs beneath the lip of the divot, not the center. Imagine the divot as a clock, and you’re inserting the tool at the 6 o’clock position.
- Gently Does It: Now comes the key step – with a gentle twisting motion, push the flap of turf towards the center of the divot. Think of yourself as tucking the displaced grass back into place, not prying it loose.
Pro Tip: Avoid using a sawing motion. This can damage the delicate grass roots.
- Work Your Way Around: Repeat step 4, moving systematically around the perimeter of the divot. By working your way around the “clock,” you ensure even pressure is applied and a smooth, repaired surface is achieved.
- Filling the Void (Optional): If the divot is particularly deep, consider using the seed mix provided by the course. Sprinkle a small amount of seed into the depression, focusing on the bare patches.
- The Tamping Touch: Once you’re satisfied with the turf placement, it’s time to tamp it down. Use the flat surface of your putter to gently press the repaired area until it sits level with the surrounding green.
Pro Tip: Avoid using excessive force while tamping. The goal is to firm up the turf, not compact the soil.
- Mission Accomplished: Admire your handiwork! You’ve successfully repaired a divot and helped maintain the pristine playing surface for your fellow golfers.
Beyond the Basics: Advanced Divot Repair Techniques
While the core technique remains the same, here are some additional considerations for different divot scenarios:
- Shallow Divots: For minor divots, you might not even need a tool. Simply use your fingers to gently nudge the displaced turf back into place and tamp down the area with your putter.
- Deep Divots: For particularly deep gashes, you might need a two-pronged approach. First, follow the steps outlined above, focusing on repairing the outer edges. Then, carefully insert the prongs of your divot repair tool deeper into the center of the divot and gently lift the soil upwards. Fill any gaps with seed mix and tamp down the entire area.
- Repairing in Dry Conditions: Dry, hard greens can present a challenge. If the turf is particularly stubborn, consider using a divot repair tool with a serrated edge to help loosen the compacted soil.
- Repairing in Wet Conditions: Wet greens require a slightly different approach. Soggy turf can be more prone to tearing, so prioritize a gentle touch. Avoid using a seed mix in excessively wet conditions, as it can clump and hinder germination. Instead, focus on carefully pushing the displaced turf back into place and tamping down the area firmly to prevent pooling water.
Etiquette on the Green: A Divot Repairing Diplomat
Now that you’re a divot-repairing dynamo, here are some etiquette tips to ensure you’re a model citizen on the course:
- Be Prompt: Don’t wait for your playing partners to repair their divots. Take the initiative and fix yours promptly.
- Fix It Forward: Not only should you repair your own divots, but consider fixing any unattended ones you encounter on the green. This small act of courtesy goes a long way in maintaining course conditions for everyone.
- Respect the Line: When approaching a divot to be repaired, be mindful of your fellow golfers’ putting lines. Avoid walking directly across their line or standing in their way.
- Knowledge is Power: Educate your golfing buddies about proper divot repair. Sharing this knowledge helps ensure everyone contributes to a healthy green.
The Bigger Picture: Why Divot Repair Matters
Taking the time to repair divots isn’t just about courtesy; it’s about course preservation. Here’s why proper divot repair is crucial:
- Healthy Putting Surfaces: Unrepaired divots leave unsightly blemishes on the green and create uneven putting surfaces. By repairing divots, you help maintain a smooth and consistent putting experience for everyone.
- Faster Recovery: Properly repaired divots allow the grass to heal more quickly. This minimizes the time it takes for the green to recover its pristine playing condition.
- Reduced Course Maintenance: Neglected divots can become eyesores and require additional work from the course maintenance crew. By taking responsibility for your divots, you help lighten the load on course staff.
The Final Tee Shot: A Legacy of Respect
By incorporating proper divot repair into your golfing routine, you’re not just leaving the course better than you found it, you’re contributing to a positive golfing experience for everyone. Remember, a well-maintained course is a testament to the respect and care shown by its players. So, the next time you step onto the green, grab your divot repair tool with pride, and leave a lasting impression – one smooth, divot-free putt at a time.
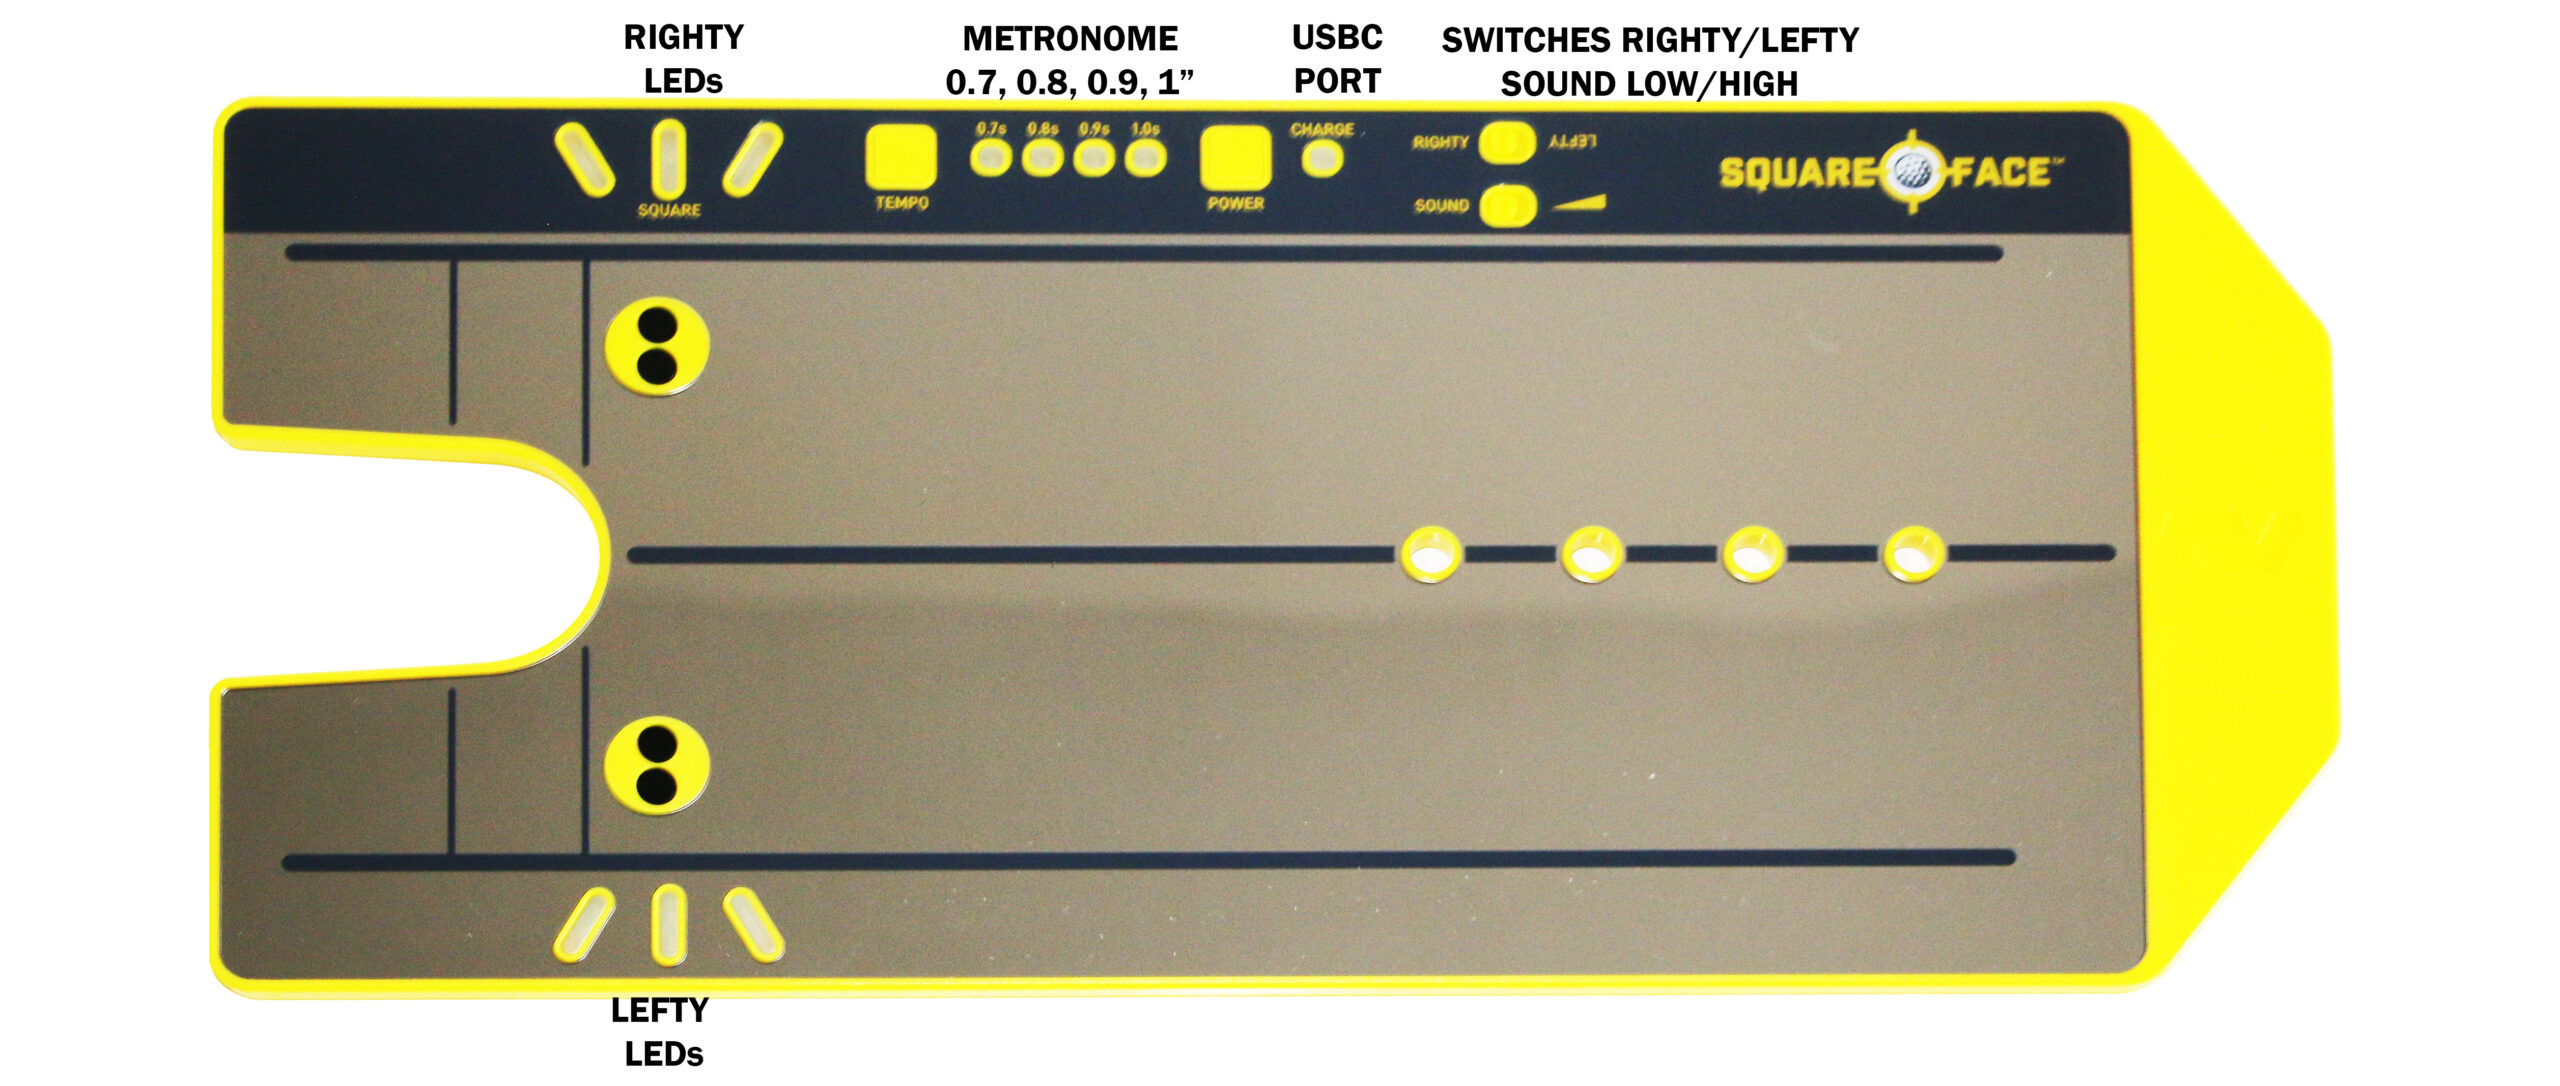
The Square Face And Putt Like A Pro Book
Click here for 10% off the Square Face (use coupon code SUPERIORGOLF) and my eBook free with the purchase of the Square Face